If you wish to create a DNS zone for an existing domain and manage it through your Client Portal, you may follow these simple steps:
- Log in to your Client Portal
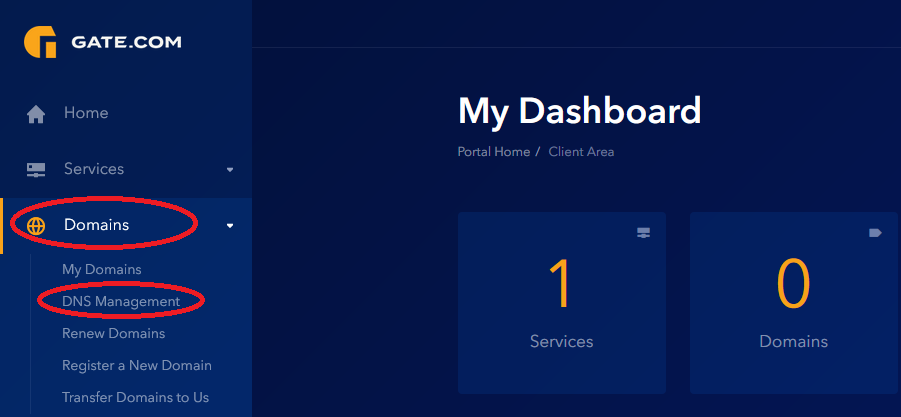
- Navigate to Domains -> DNS Management
3. Click on "Add new zone", type in your domain.and select "Add Zone"


4. After the zone has been created you may add/remove records by selecting the "Edit Zone" option as shown below:

5. Log in to your Registrar Control Panel and change your domain Nameservers to:
- sns1.gate.com
- sns2.gate.com
Note: Keep in mind that Nameserver updates will result in a propagation ranging anywhere between 24 to 48 hours for changes to be applied across the global web.
You may now manage your domain's DNS through your Client Portal.
If you need help with editing or adding DNS records, click here to view our article on the topic.
