1. Log in to your Gate.com Server Manager. For instructions, visit the related article here.
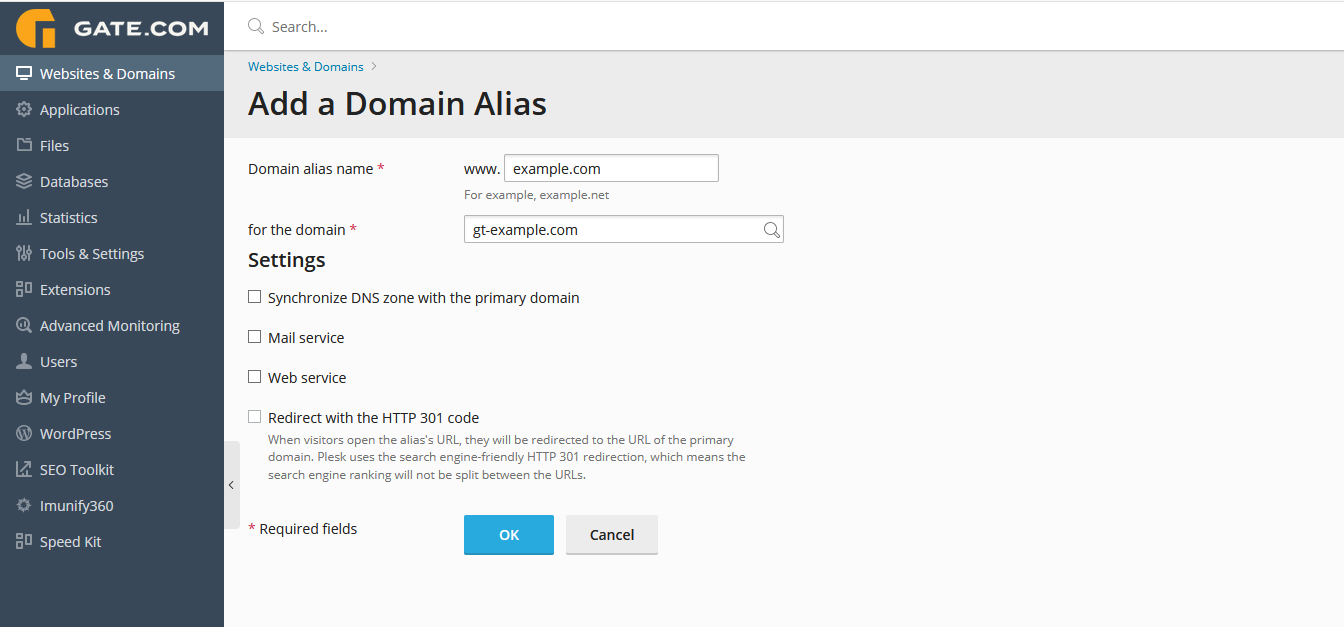
2. Navigate to the Websites & Domains section on the left sidebar and select Add Domain Alias

3. Type in the domain that you wish to add as an alias. We recommend having all redirections turned off as show below as at the time, they will not be automatically applied.
4. Once you've added your domain as an alias, you will need to point its A record(s) to your Gate.com server IP.
- If you are using Gate.com’s nameservers for your domain, you can add the necessary record from your Client Portal. For instructions on how to manage/add DNS records through your Client Portal, please visit the related article here.
- If you are using a 3rd party dns provider, you will have to add the record from their control panel. Here’s the record value:
Type: A
Source: example.com (replace “example.com” with your own domain)
Destination: Your Managed WordPress server IP (you can view your server IP from your “Services” section in your Client Portal. It should look similar to this: 66.113.188.145
Type: A
Source: www.example.com (replace “example.com” with your own domain)
Destination: Your Managed WordPress server IP (you can view your server IP from your “Services” section in your Client Portal. It should look similar to this: 66.113.188.145
Note: This is a typical setup. A record(s) Source may vary depending on the specific purpose and configuration.
