If you wish to provide access to your Gate.com Server Manager portal to a 3rd party ( e.g. your web developer) you have the option to create separate user. You can also customize the access that they get to your services. Here's how to get started:
- Log in to your Server Manager portal. For instructions on how to access it, you may refer to the following article.
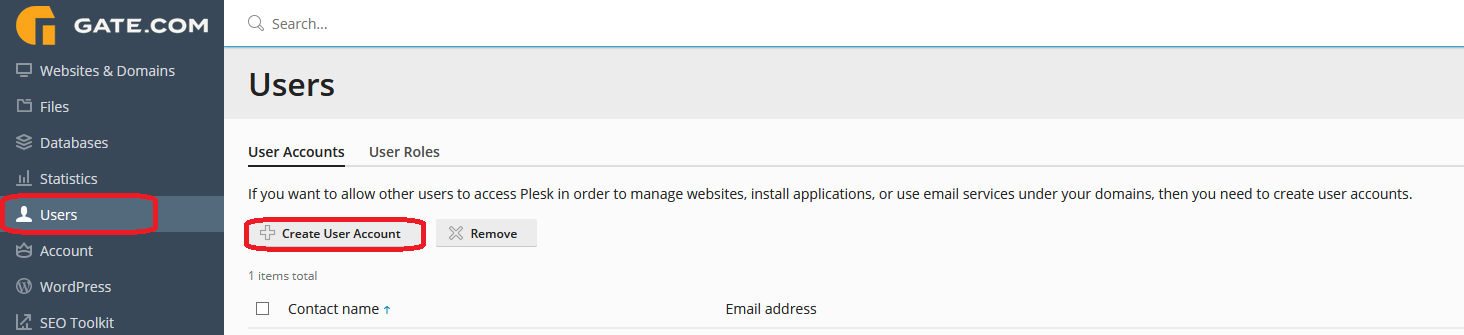
- Navigate to the "Users" section and click on "Create User Account"
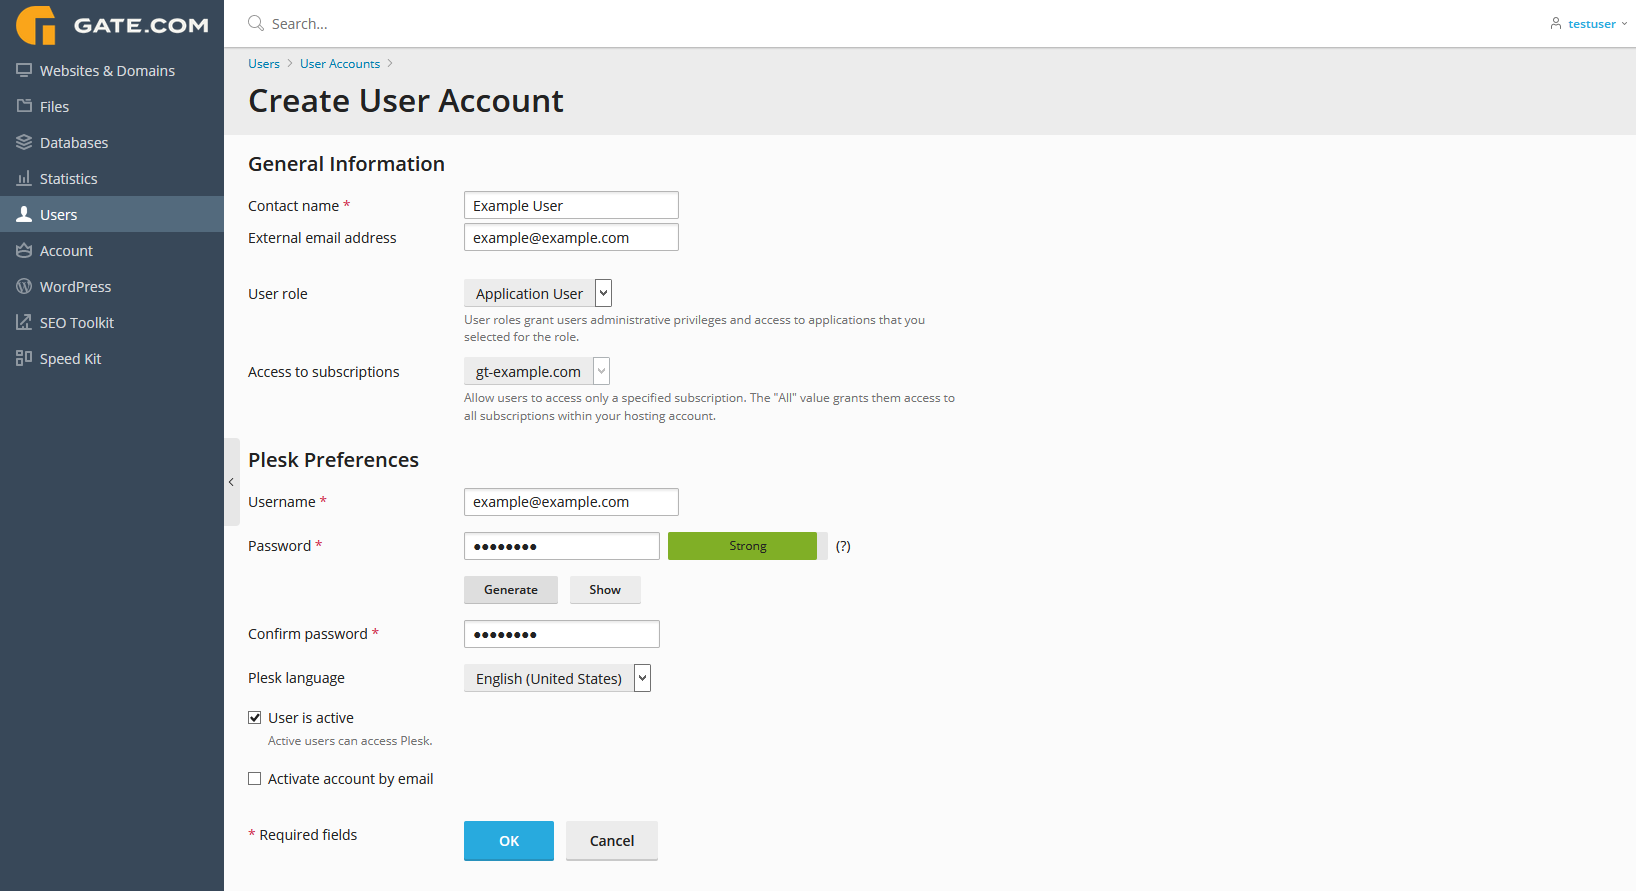
- Specify the following:
- Contact name.
- Email address. The email address will be used as a user name for logging in to the Server Manager, unless you specify another name in the Username box. To create an email address for the user, type the desired left part of the address which goes before the @ sign, and, if you have a number of domains on your account, select the domain name under which the email address should be created.
- External email address. Specify an email that will be used to reset the password if the user loses access to their primary email address.
- User role. Select the required user role from the menu.
- Access to subscriptions. Allow a user to access only a specified subscription. The All value grants them access to all subscriptions within your customer account.
- Username. The user name for access to Server Manager.
- Password. The password for access to Server Manager.
Only active users can access the Server Manager. To make the user account active right after its creation, keep the User is active checkbox selected.
If you specified an external email address, you can also make the user account inactive until the user confirms the account. To do so, select the Activate account by email checkbox. The user will then receive the activation email in the external email address. Click OK.
The user account was created. You can now add the user’s contact information if you want.
To add contact information to a user account:
- Click the contact name of an existing user account.
- Click Change Settings.
- Go to the Contact Details tab, specify the user’s contact information, and then click OK.
You can also notify the user about creation of his or her account and ability to access the Server Manager. Provide the user with the address to open in his or her browser, the username (which is the user’s email address), and the password that you specified in the account settings.
To change user account properties:
- Go to Users.
- Click a link with the user’s name.
- Make the required changes and click OK.
To suspend or activate a user account:
- Go to Users.
- Click a link with the user’s name.
- Click Change Settings.
- Do any of the following:
- To suspend a user account, clear the User is active checkbox. The user will no longer be able to log in to Plesk and access applications.
- To activate a user account, select the User is active checkbox.
- Click OK.
To reset a user password:
- Go to Users and click a user whose password you want to reset.
- Click “Change Settings”.
- Click “Show link” next to “Password reset link”.
- Send the user an email with a password reset link:
- To automatically send an email to the user’s external email address, click Send to Email.
- To send an email to an email address different from the user’s external email address, copy the password reset link and send it manually.
The user will receive the password reset link and will follow it to set up a new password.
To remove a user account:
- Go to Users.
- Select a checkbox corresponding to the user account you want to remove, and click Remove. Note that you cannot remove your own account.
- Click Yes to confirm the removal.
