Creating, editing or removing databases can all be easily done through your Gate.com Server Manager portal. To get started, first, log in to your Server Manager Portal. If you need instructions on how to access it, please, refer to the following article: How Do I Access my Gate.com Server Manager?
Click on the "Databases" section on your left toolbar.
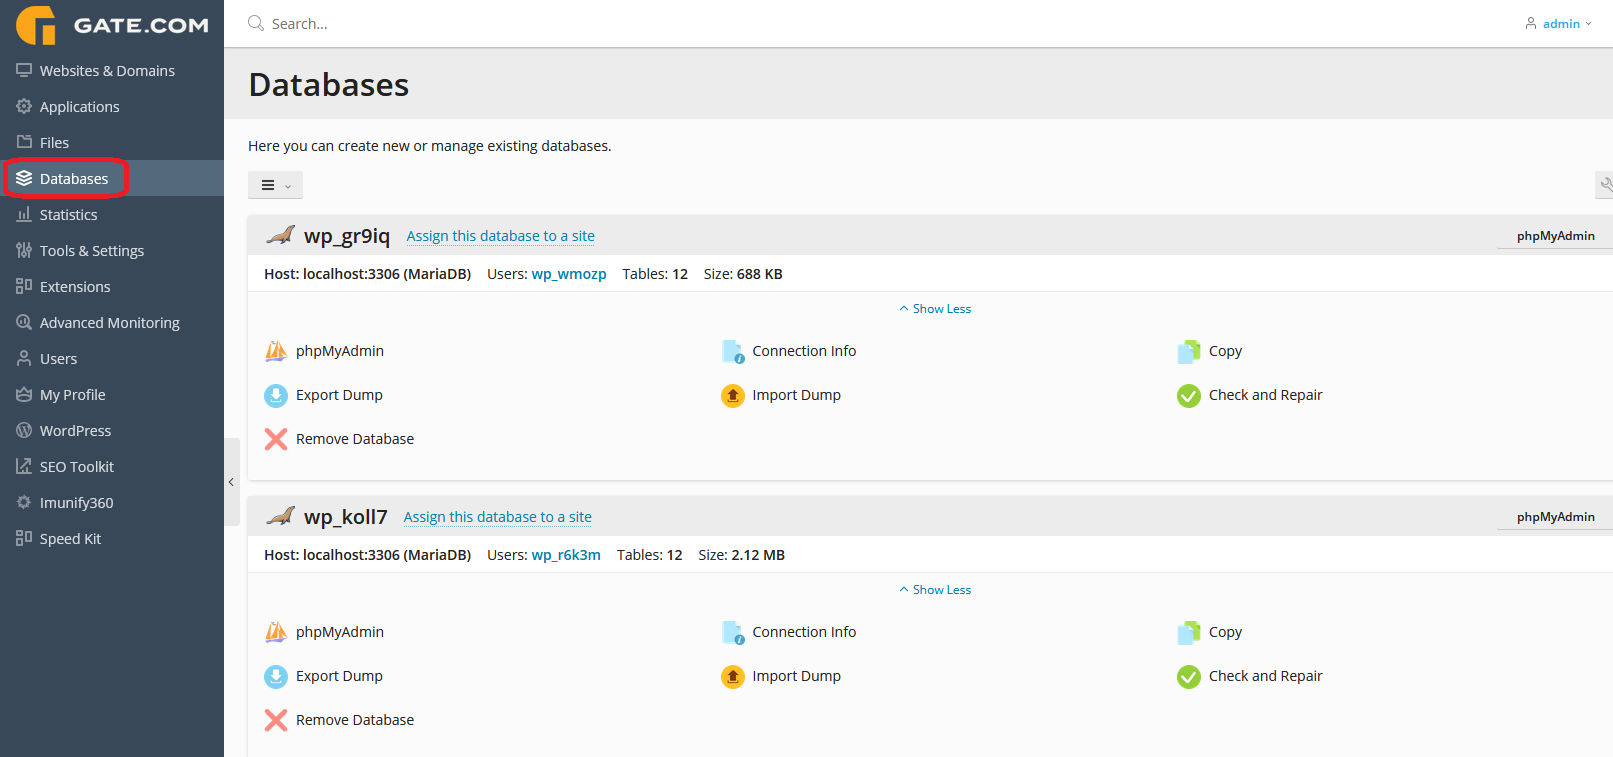
Note: On top of the built in database management tools that your portal has, your subscription also comes with a preinstalled instance of phpMyAdmin. If you wish to know more about phpMyAdmin, please refer to the tool's documentation here.
This section provides you with your database management tools:
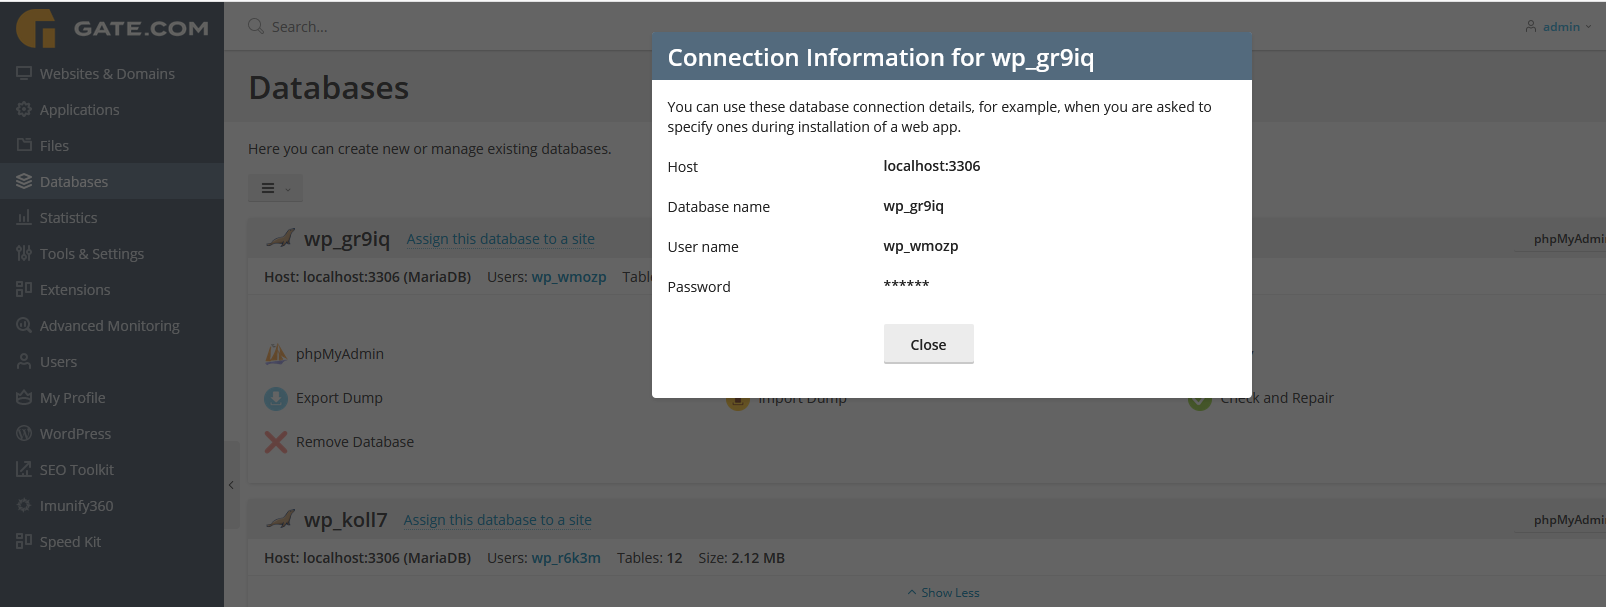
Connection Info - view your database connection information such as host, database name, username. For security reasons, passwords cannot be viewed, only changed.
Copy - lets you copy your database into another instance.
Export Dump - lets you export a copy of your database. You can either download it locally or place it on your server,
Import Dump - lets you import a database copy from your server or local storage.
Check and Repair - this utility will check your database for errors and attempt repairs if possible.
- Creating a new database.
To create a new database, click on the sandwich menu above your database list as shown:
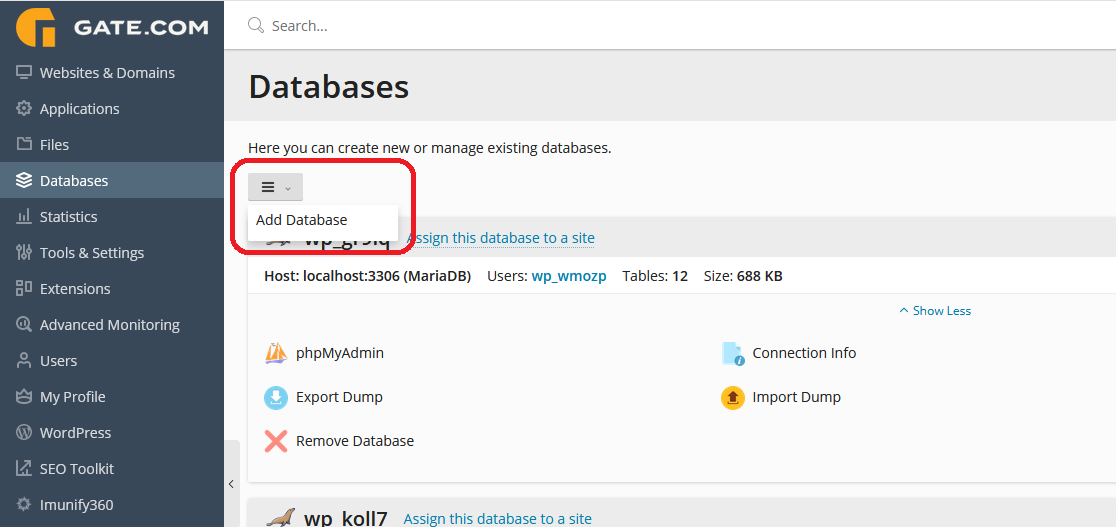
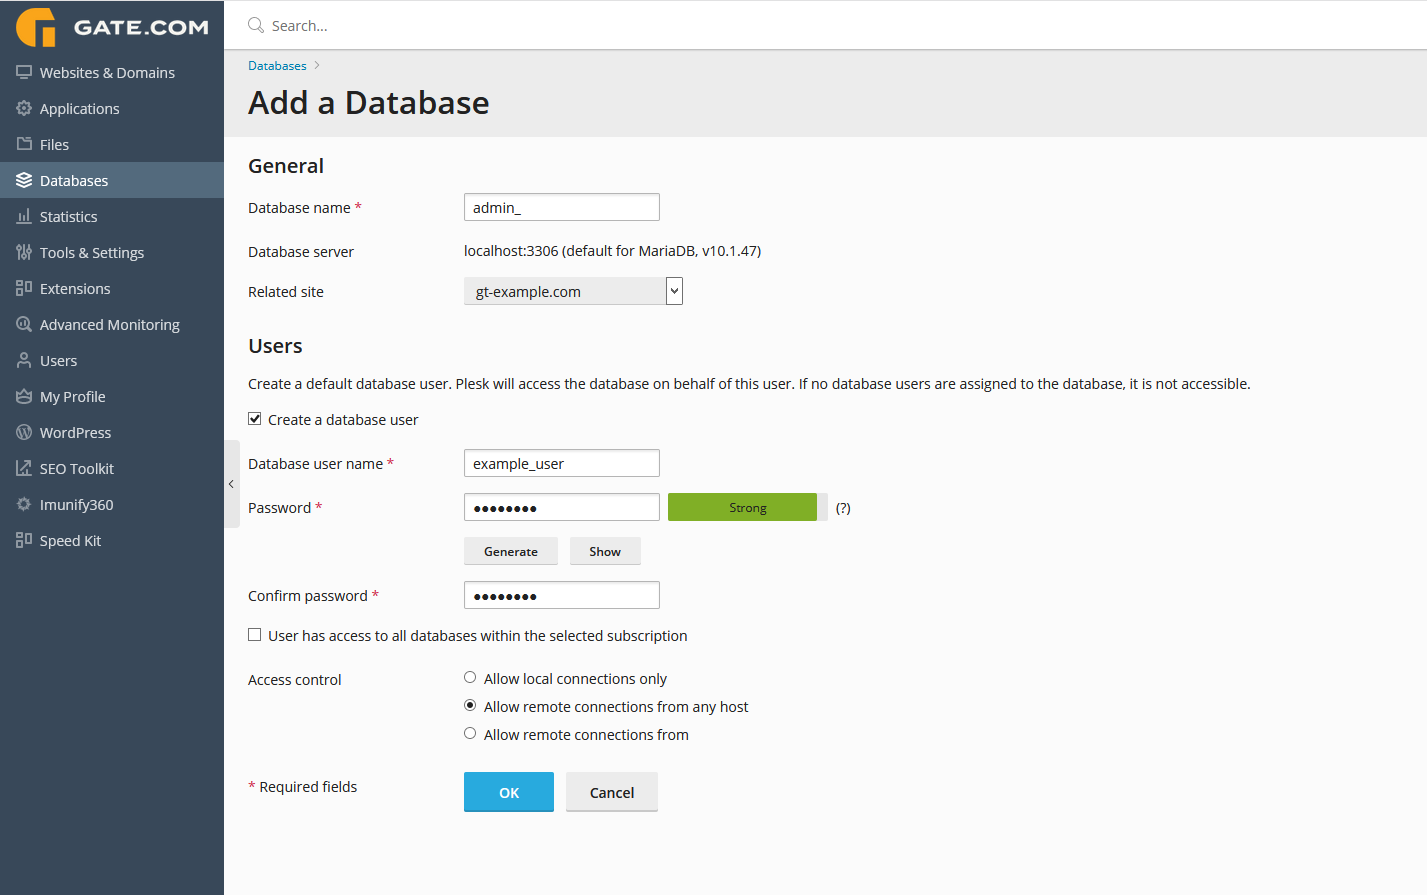
Go through the setup process by specifying:
Database name: the name of your database (used in connection strings)
Related site: the domain to which you want to link your database.
Database User Name: your database username
Password: your database password
Access Control: allow, deny remote connections to your database.
- Managing existing databases/users
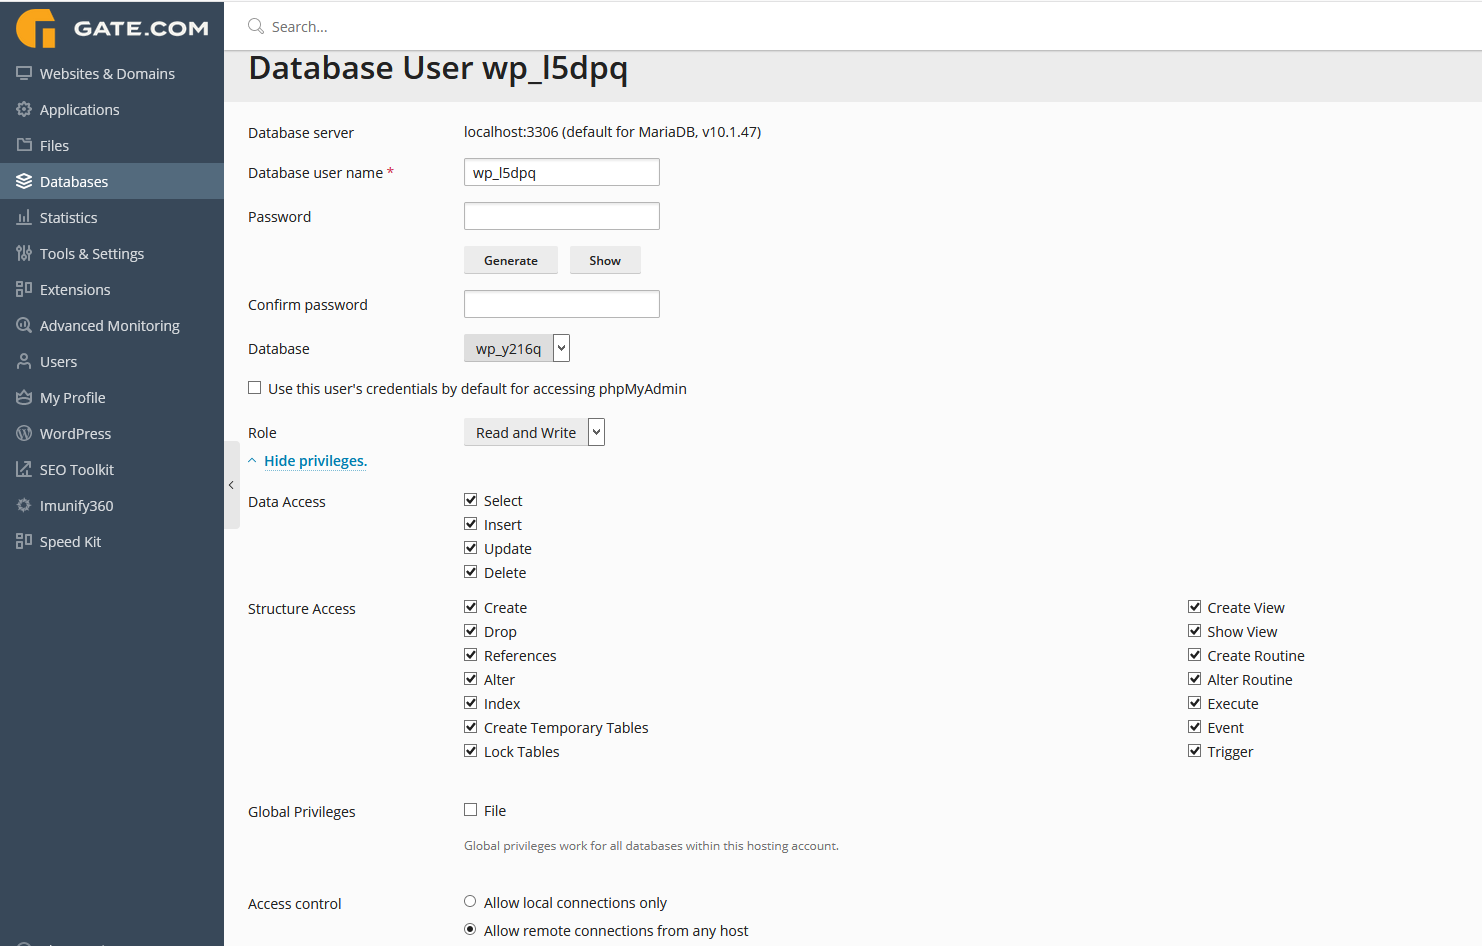
To manage your existing databases/users, in the "Databases" section, click on "User Management" located on the upper right side of the page and specify the database user you wish to manage.

This will bring you to the user management page. From here you can update the specific user's name, password, database permissions and access.
