Customers are able to use the Gate.com Shopping Cart to order new domain registrations at any time. The below steps will work for registering a new domain for both new and existing Gate customers. If you are a new customer, you will be prompted to create a new Gate account before placing your order.
This article contains the following sections:
- Registering a new domain name from Gate.com Store
- Registering a new domain name via your existing account
I. Registering a new domain name from Gate.com Store
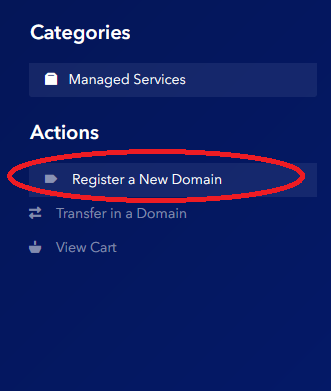
- In your web browser, navigate to https://secure.gate.com/cart.php. On the right side of the page you will see the Actions sidebar. Click on Register a New Domain to start the process.
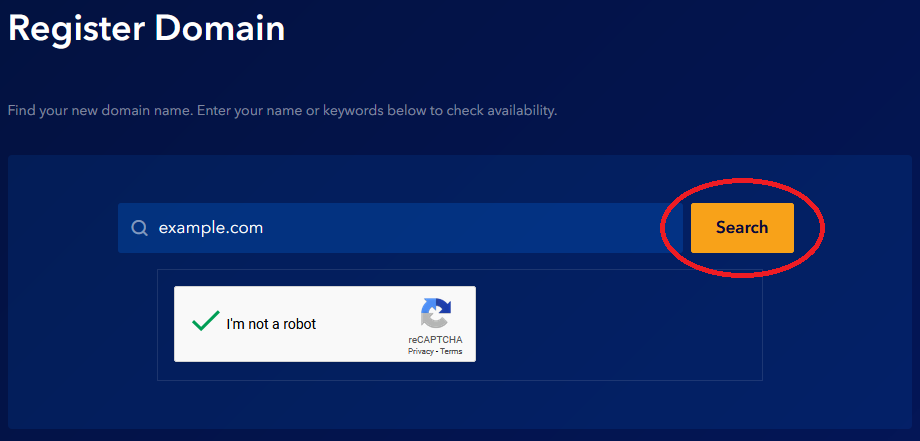
2. Enter the name you would like to register, then click Search to check availability.
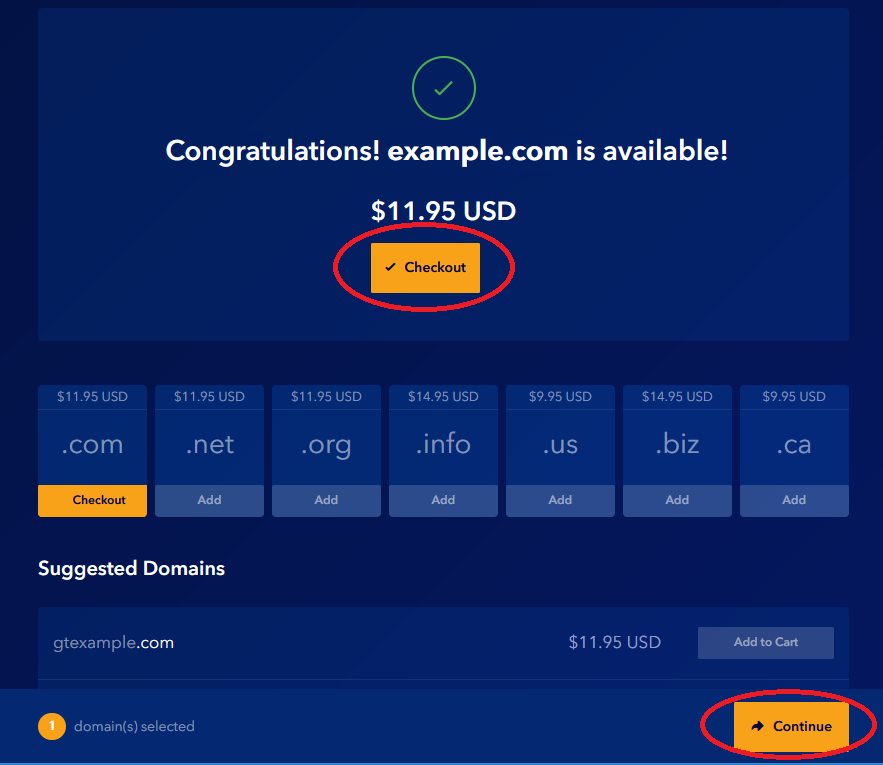
3. If your domain name is available, click Add to Cart to select it. If it is not, choose one of the suggested domains below or search for a new one.
4. If you want to register multiple domains, you can select them by clicking Add/Add to Cart next to them. To register a single domain, click either Checkout or Continue.
5. On the next page you can review your domains configuration.
Note: The initial registration period is 1 year. If you want to register your domain for a longer period, you will be able to change the registration period at the Review & Checkout page. The available registration terms are 1, 2, 3, 4, 5, 9, and 10.
To order Managed WordPress Services for your domain name, click No Hosting! Click to Add.
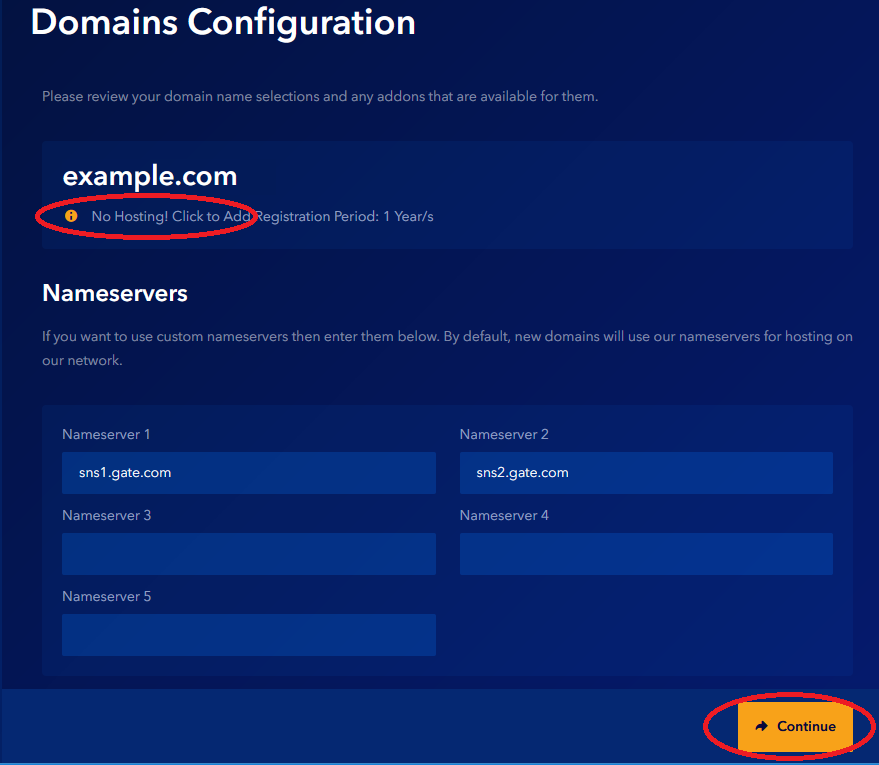
By default, new domains will use our nameservers (sns1.gate.com and sns2.gate.com) for hosting on our network. If you want to use custom nameservers you can enter them now on this page. Minimum of two authoritative name servers are required.
To save the changes (if any) and to proceed to the next page, click Continue.
6. The Review & Checkout page
On this page your will be able to:
- Review your Product or Options
- Change the registration term of your domain name from the drop-down menu (you can go up to 10 years total)
- Enter promo code (if you have one)

- Review the Billing Details
a. If you are a new customer, to fill in the Billing Details for your new account
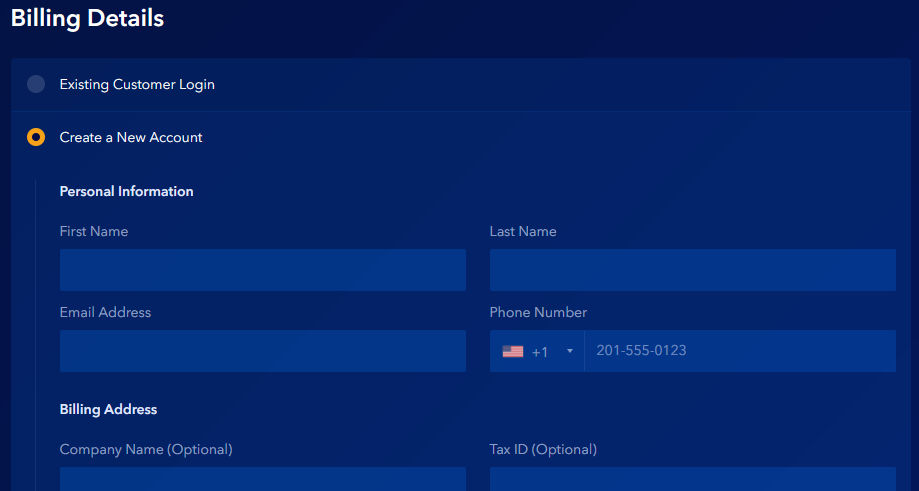
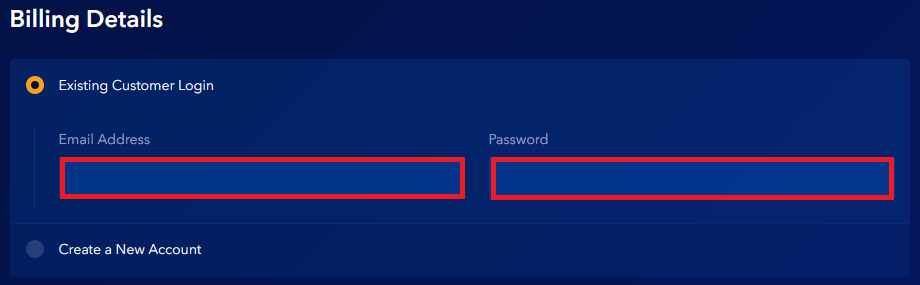
b. If you are an existing customer, to enter your customer login information
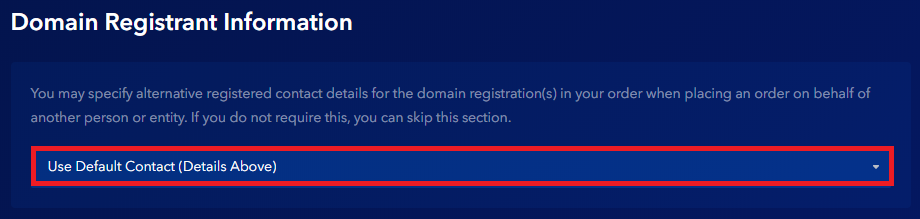
- Choose if you want to use the default Contact (Billing) Details for Domain Registrant (WHOIS) Information. Or you may specify alternative registered contact details for the domain registration(s) in your order when placing an order on behalf of another person or entity.
Note: The Domain Registrant contact information can be changed at a later time in the Account Portal.
- Choose the payment method
Here you can enter your Credit Card information

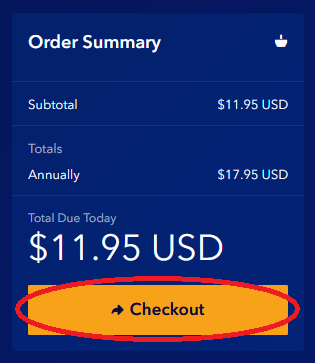
7. On the right side of the page you will see the Order Summary sidebar. When you are ready, click Checkout to place the order.
II. Registering a new domain name via your existing account
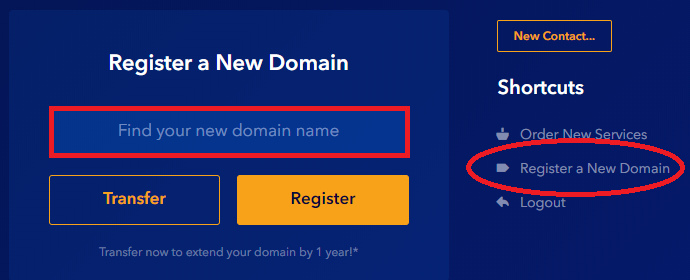
1. Log in to your Account Portal at: https://secure.gate.com/. You can register a new domain directly from your Dashboard / Portal Home.
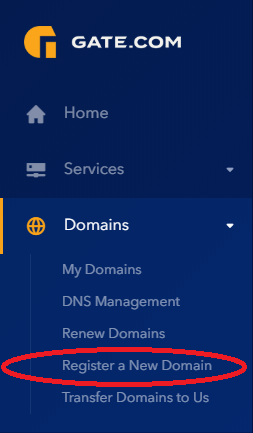
Alternatively, you can use the Register a New Domain shortcut, or to click on Domains and then on Register a New Domain from the left sidebar.
2. Enter the name you would like to register, then click Register/Search to check availability.
3. If your domain name is available, click Add to Cart to select it. If it is not, choose one of the suggested domains below or search for a new one.
4. If you want to register multiple domains, you can select them by clicking Add/Add to Cart next to them. To register a single domain, click either Checkout or Continue.

5. On the next page you can review your domains configuration.
Note: The initial registration period is 1 year. If you want to register your domain for a longer period, you will be able to change the registration period at the Review & Checkout page. The available registration terms are 1, 2, 3, 4, 5, 9, and 10.
To order Managed WordPress Services for your domain name, click No Hosting! Click to Add.
By default, new domains will use our nameservers (sns1.gate.com and sns2.gate.com) for hosting on our network. If you want to use custom nameservers you can enter them now on this page. Minimum of two authoritative name servers are required.
To save the changes (if any) and to proceed to the next page, click Continue.
6. The Review & Checkout page
On this page your will be able to:
- Review your Product or Options
- Change the registration term of your domain name from the drop-down menu (you can go up to 10 years total)
- Enter promo code (if you have one)
- Review your Billing Details
- Choose if you want to use the default Contact (Billing) Details for Domain Registrant (WHOIS) Information. Or you may specify alternative registered contact details for the domain registration(s) in your order when placing an order on behalf of another person or entity.
Note: The Domain Registrant contact information can be changed at a later time in the Account Portal.
- Choose the payment method
As an existing customer, you can either use your default payment method (existing Credit Card) or use another card for one-time payment.
7. On the right side of the page you will see the Order Summary sidebar. When you are ready, click Checkout to place the order.
If you have any further questions that were not answered in this article, please contact us.
